We have a Nintendo household, and over the years have accumulated a small collection of the company’s amiibo figurines. If you’re not familiar with them, these are sculpted miniature figures of game characters from various Nintendo franchises, each with a little NFC chip in the base. By holding the figure over the right spot on a Nintendo game console, you can get various digital perks in games. Scanning an amiibo in “The Legend of Zelda: Breath of the Wild,” for example, causes cooking ingredients and useful combat items to drop from the sky and land at Link’s feet.
It’s a cute gimmick, and very useful in some games. The problem is that it requires digging out a bunch of little statuettes every time you want to scan them in. With a portable console such as the Nintendo Switch, which is wonderful to play with when traveling, hauling a whole minifigure collection around simply isn’t practical.
Fortunately, there’s an app for that. On the iPhone, I used a little program called Amiiboss. It uses the RFID/NFC module on recent iPhones to write data onto cheap, easily available NFC stickers. That allowed me to copy our amiibo collection onto a set of index cards, each marked to identify which amiibo it encodes.
While that works fine when traveling, I wanted a more elegant solution for use in the living room. After some brainstorming, I hit on the idea of making drink coasters with amiibo tags embedded in them. Follow along with the pictures to see how it went.
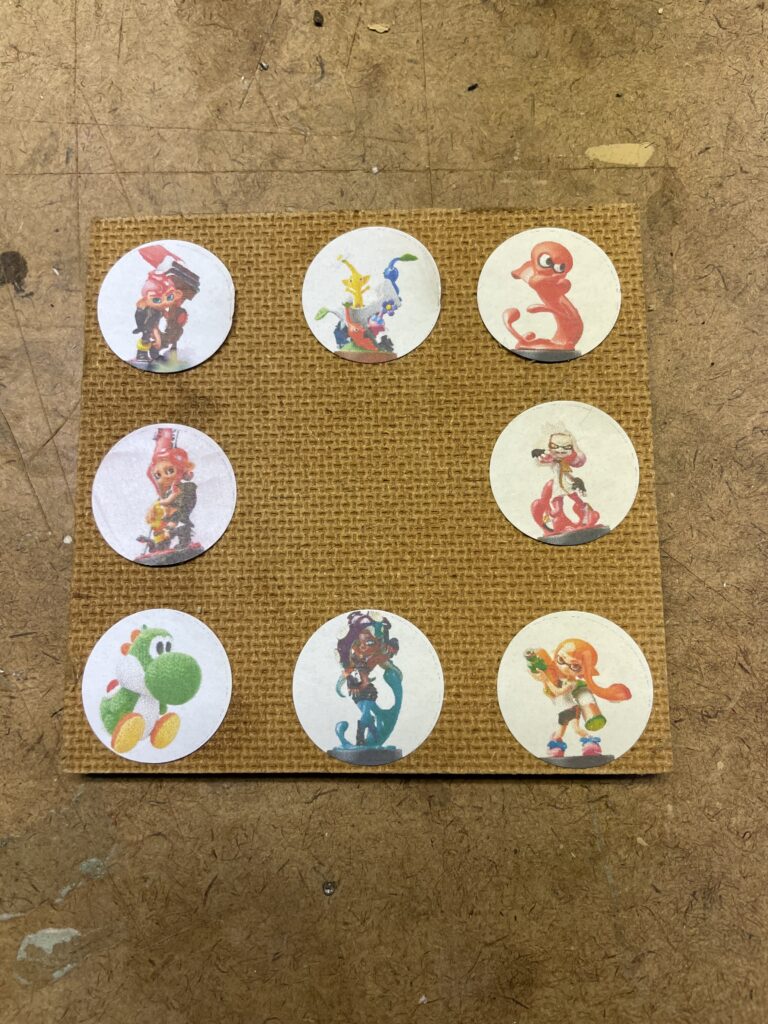
Initially, I thought I’d print images of each amiibo on individual stickers, then affix those to each encoded NFC tag, stick the whole sandwich to a piece of Masonite, and coat it all in epoxy.
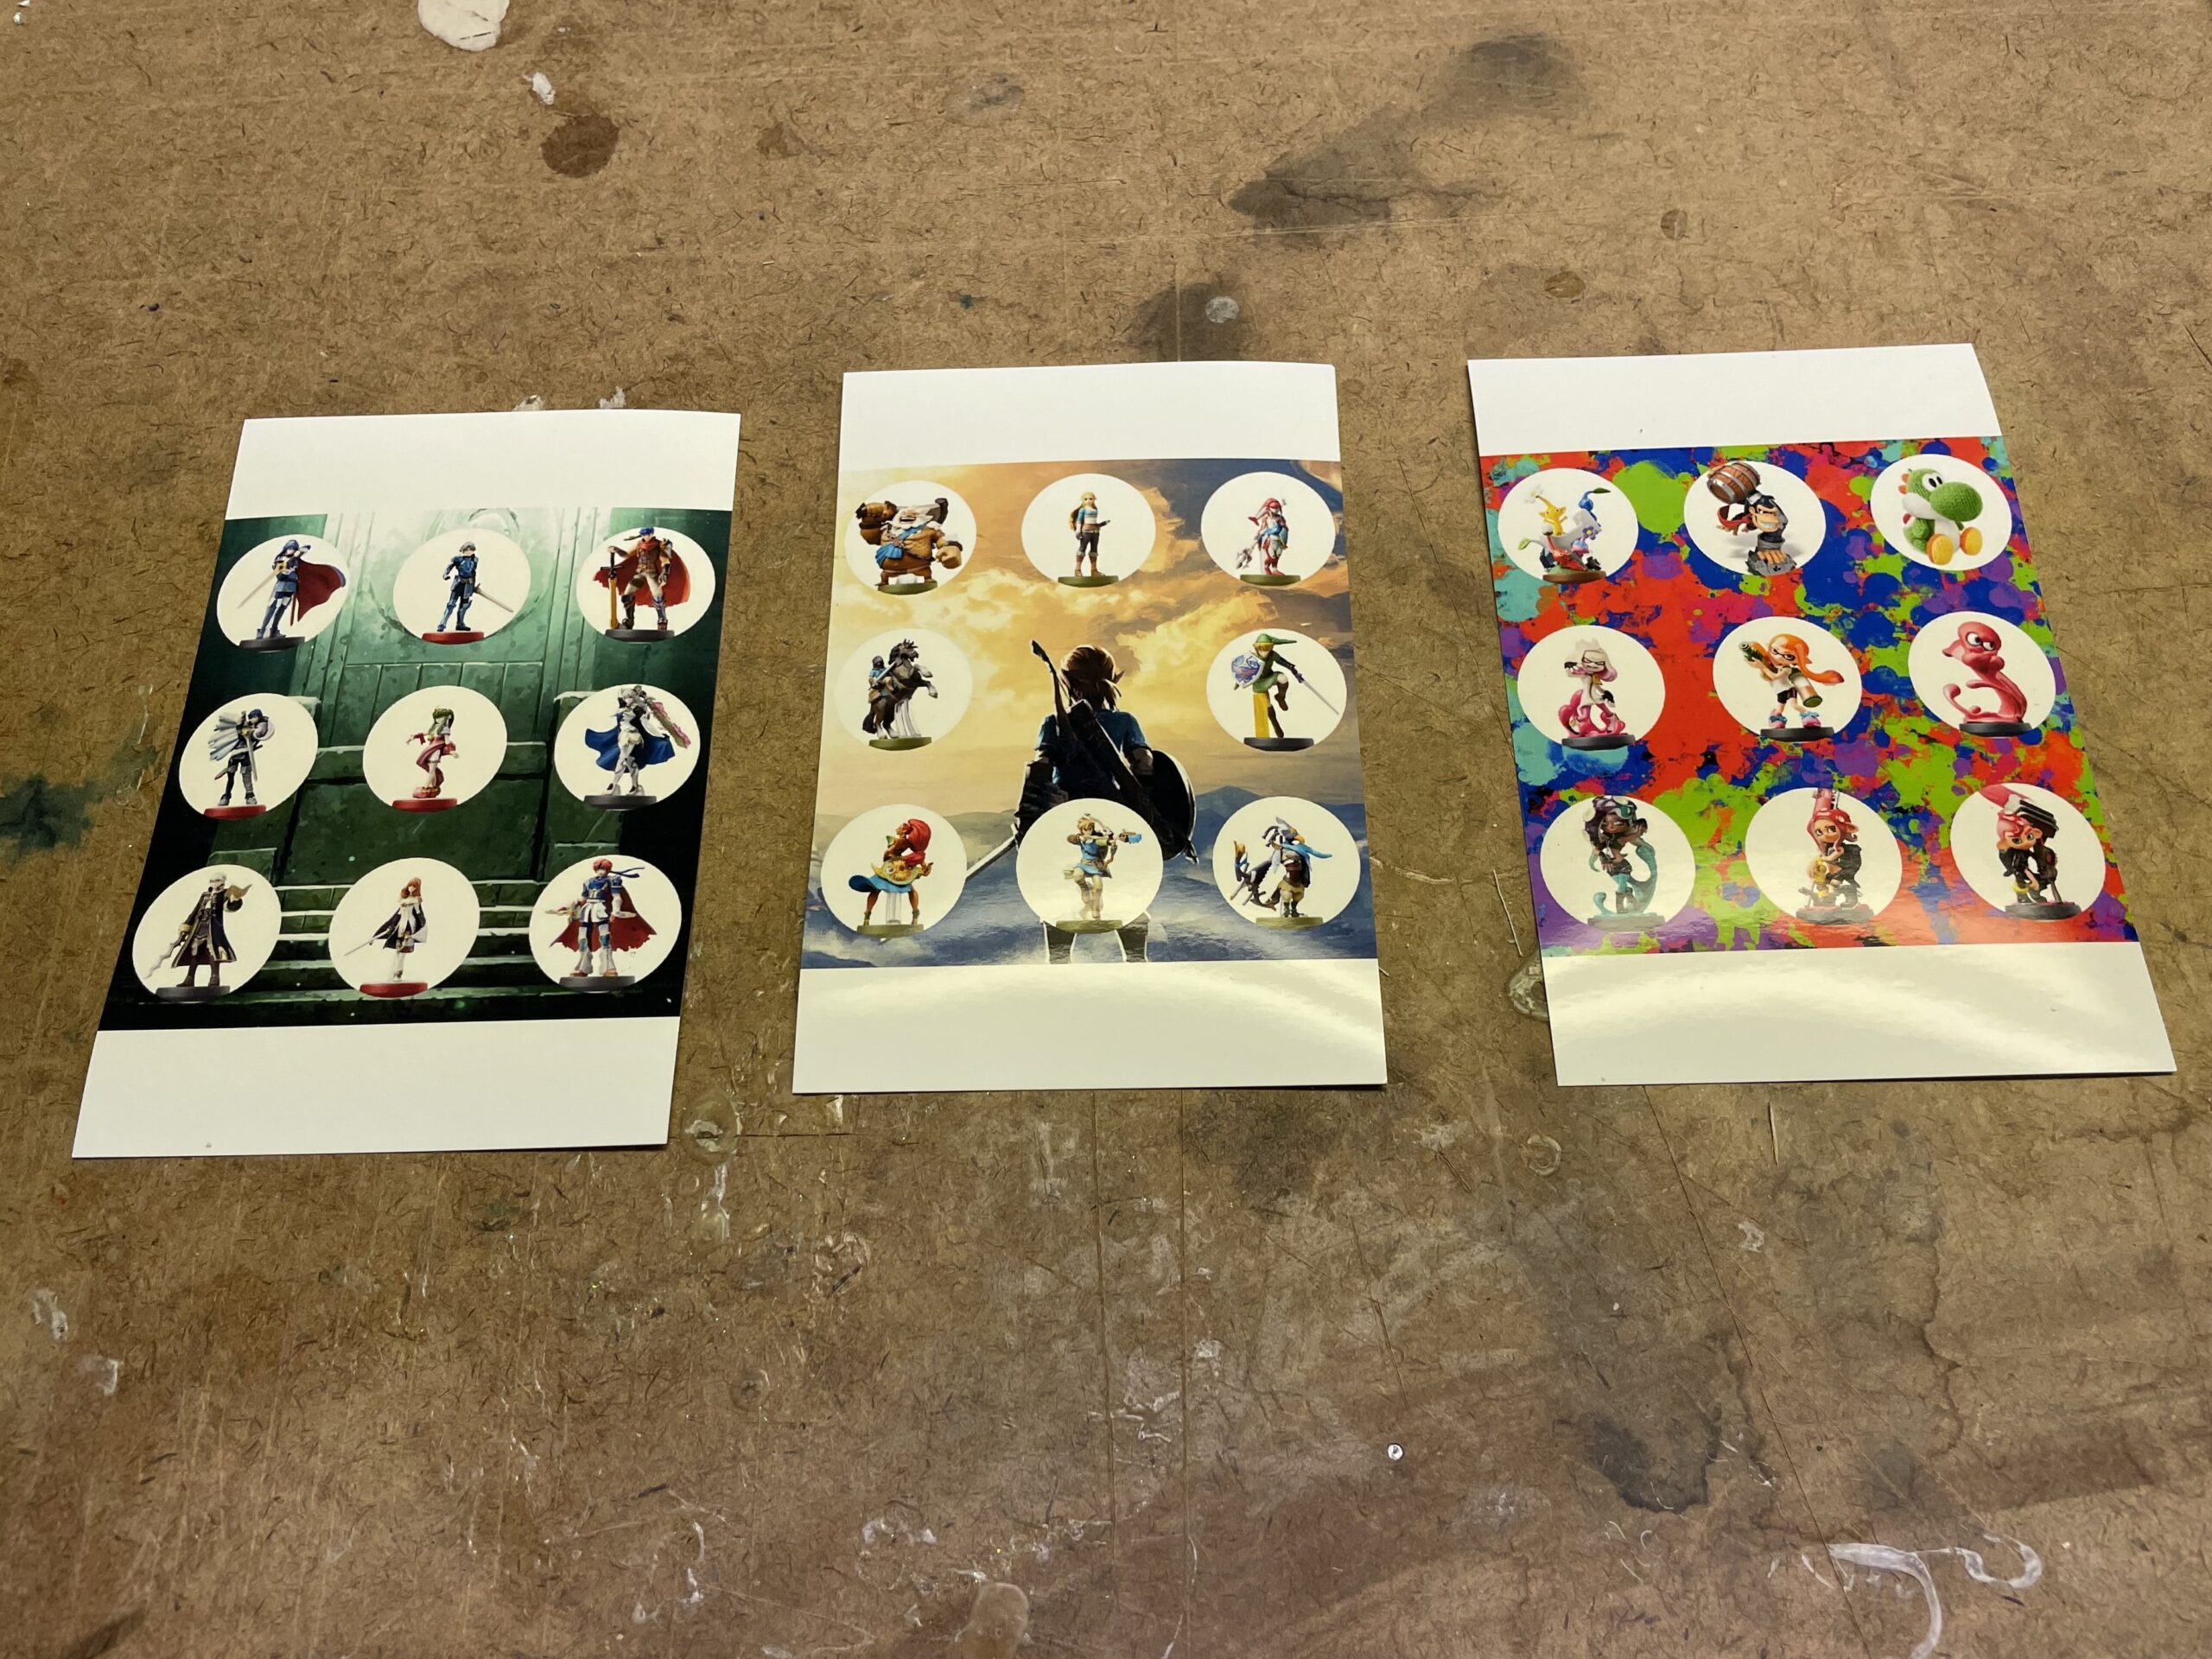
A little more playing around with GIMP got me to a second, and I think much prettier solution: coaster-size, photo-quality prints with the amiibo images superimposed on thematically appropriate backgrounds. All images, and for that matter the amiibo themselves, are of course copyright Nintendo, and used here solely for a personal craft project. These are not for sale.
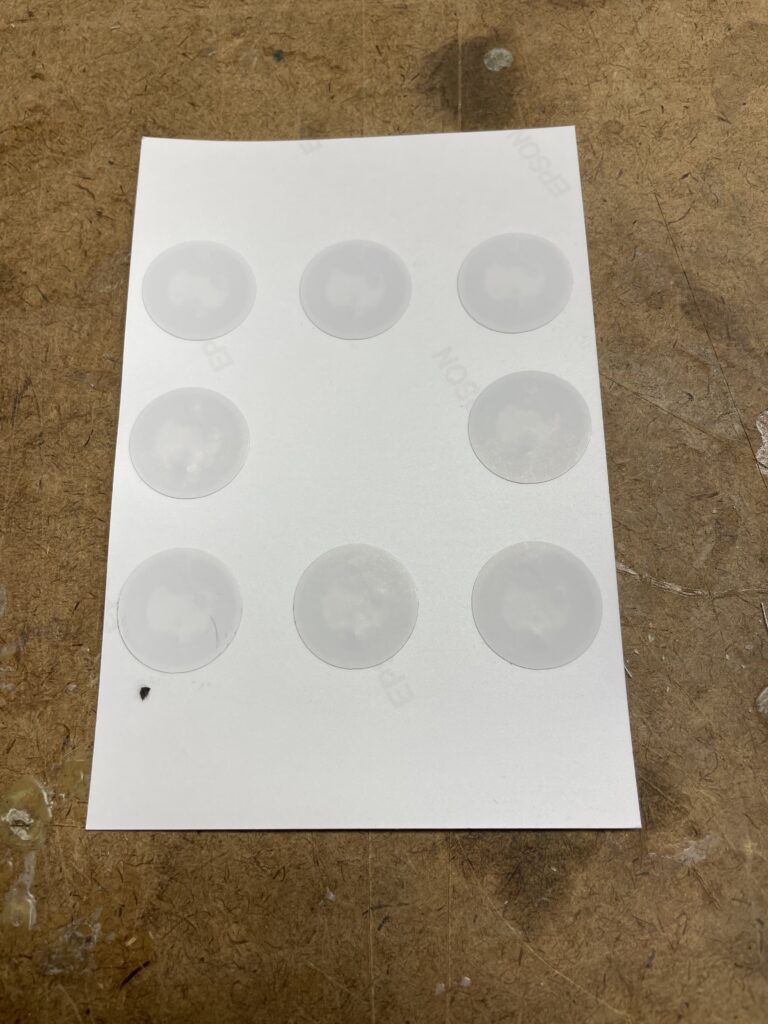
On the back of each image, I lined up the amiibo-encoded NFC stickers with their appropriate images on the front. In retrospect, I wish I’d put these on the back side of the Masonite, but I’ll discuss that later.
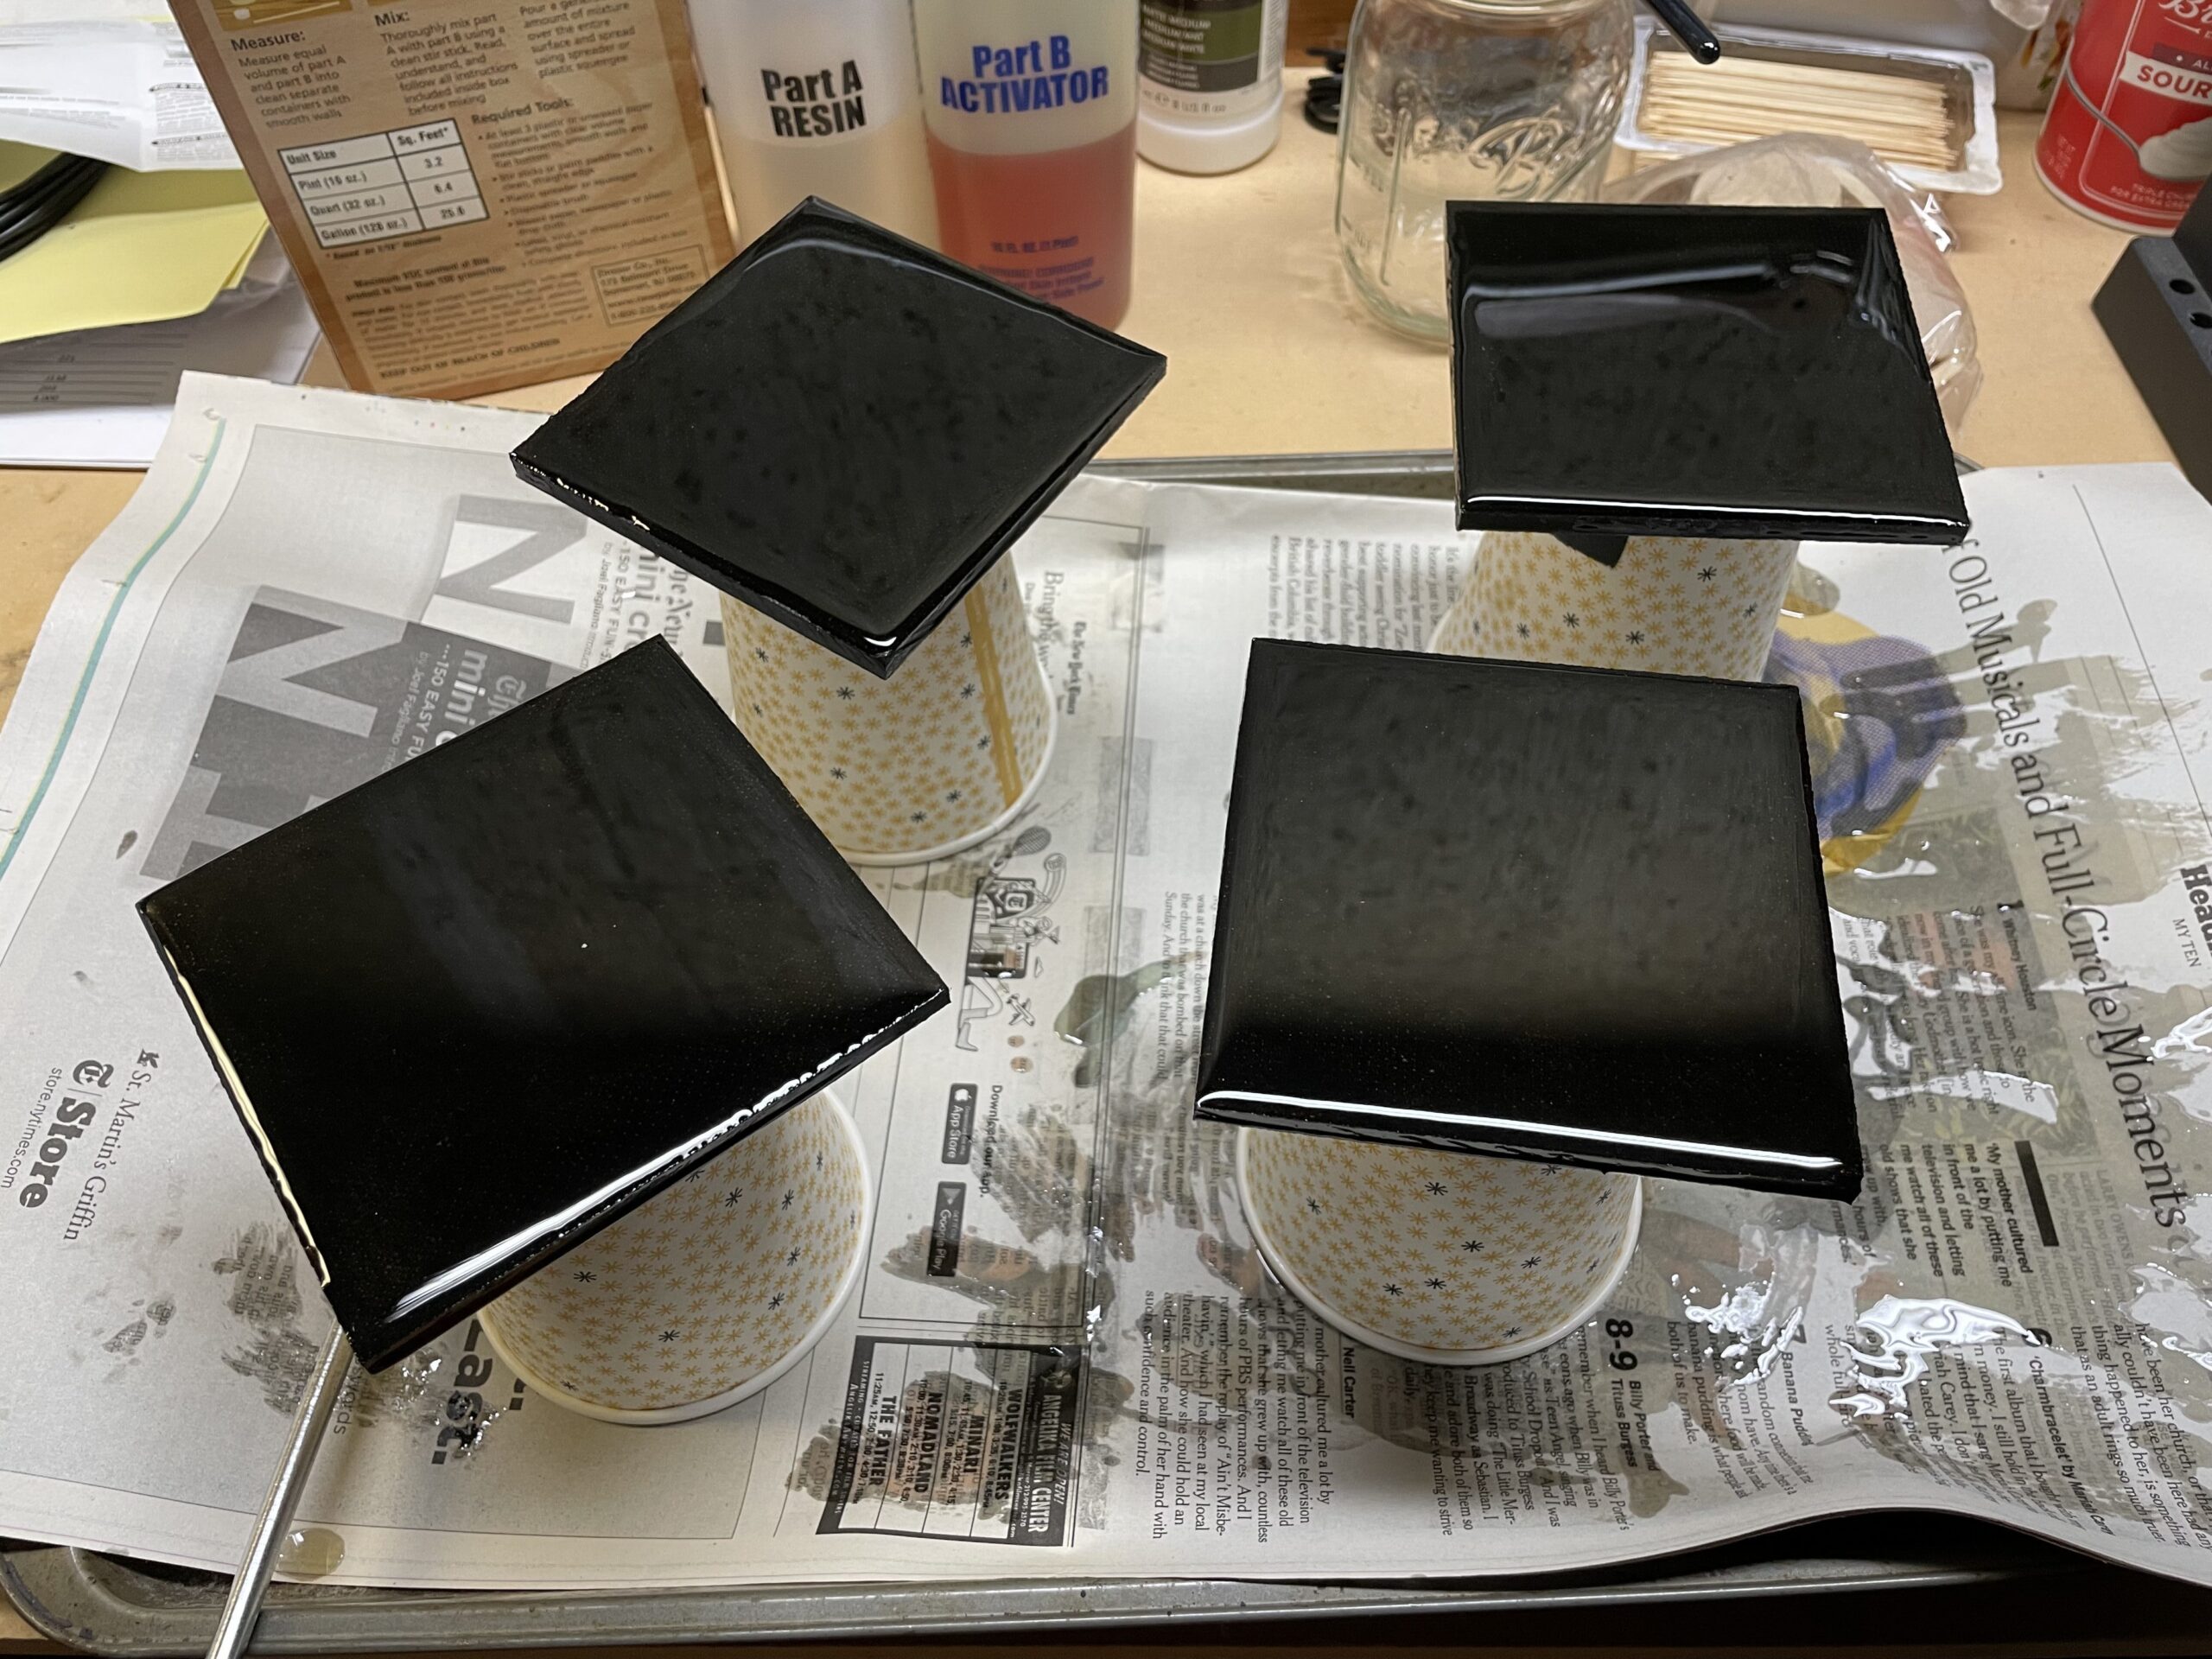
For the backs (or bottoms) of the coasters, I painted the Masonite black, then coated them with bar top epoxy. This two-part finish forms a thick, hard, clear surface once it cures.
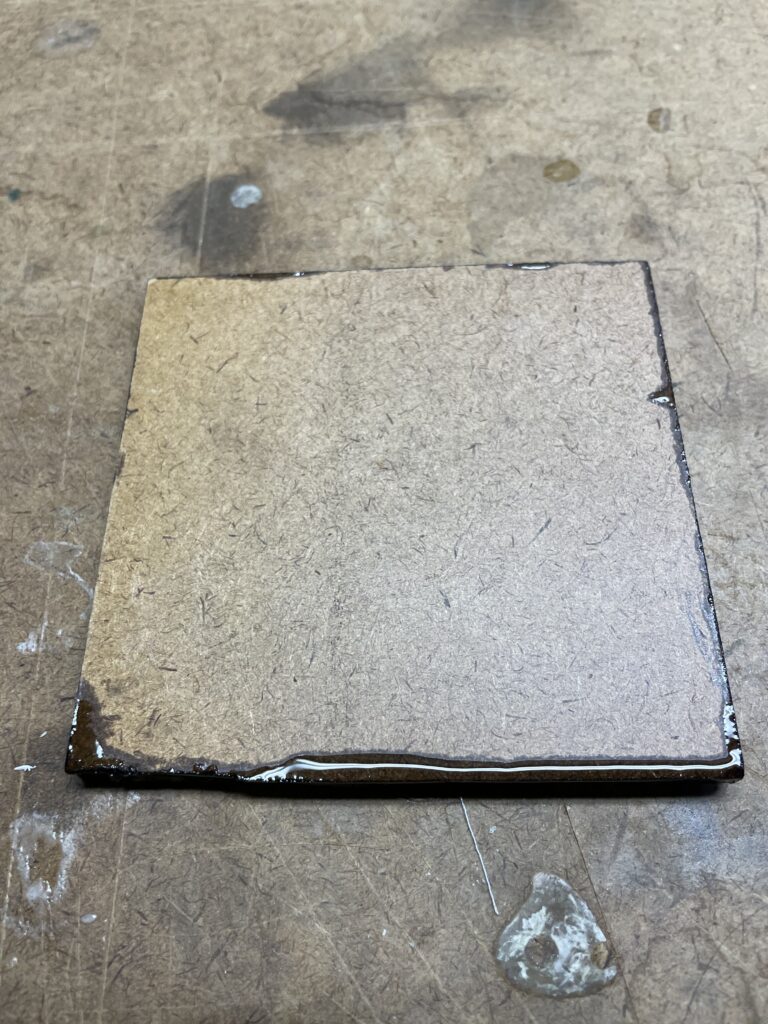
Here’s the top of a coaster, showing a little overpour from the epoxy on the back. Having worked with this stuff before, I knew to check it after several hours, when it was nearly cured but still soft enough to cut with a sharp knife. A little shaving around the edges cleaned up the beading you see here, leaving a flat surface for the photo.
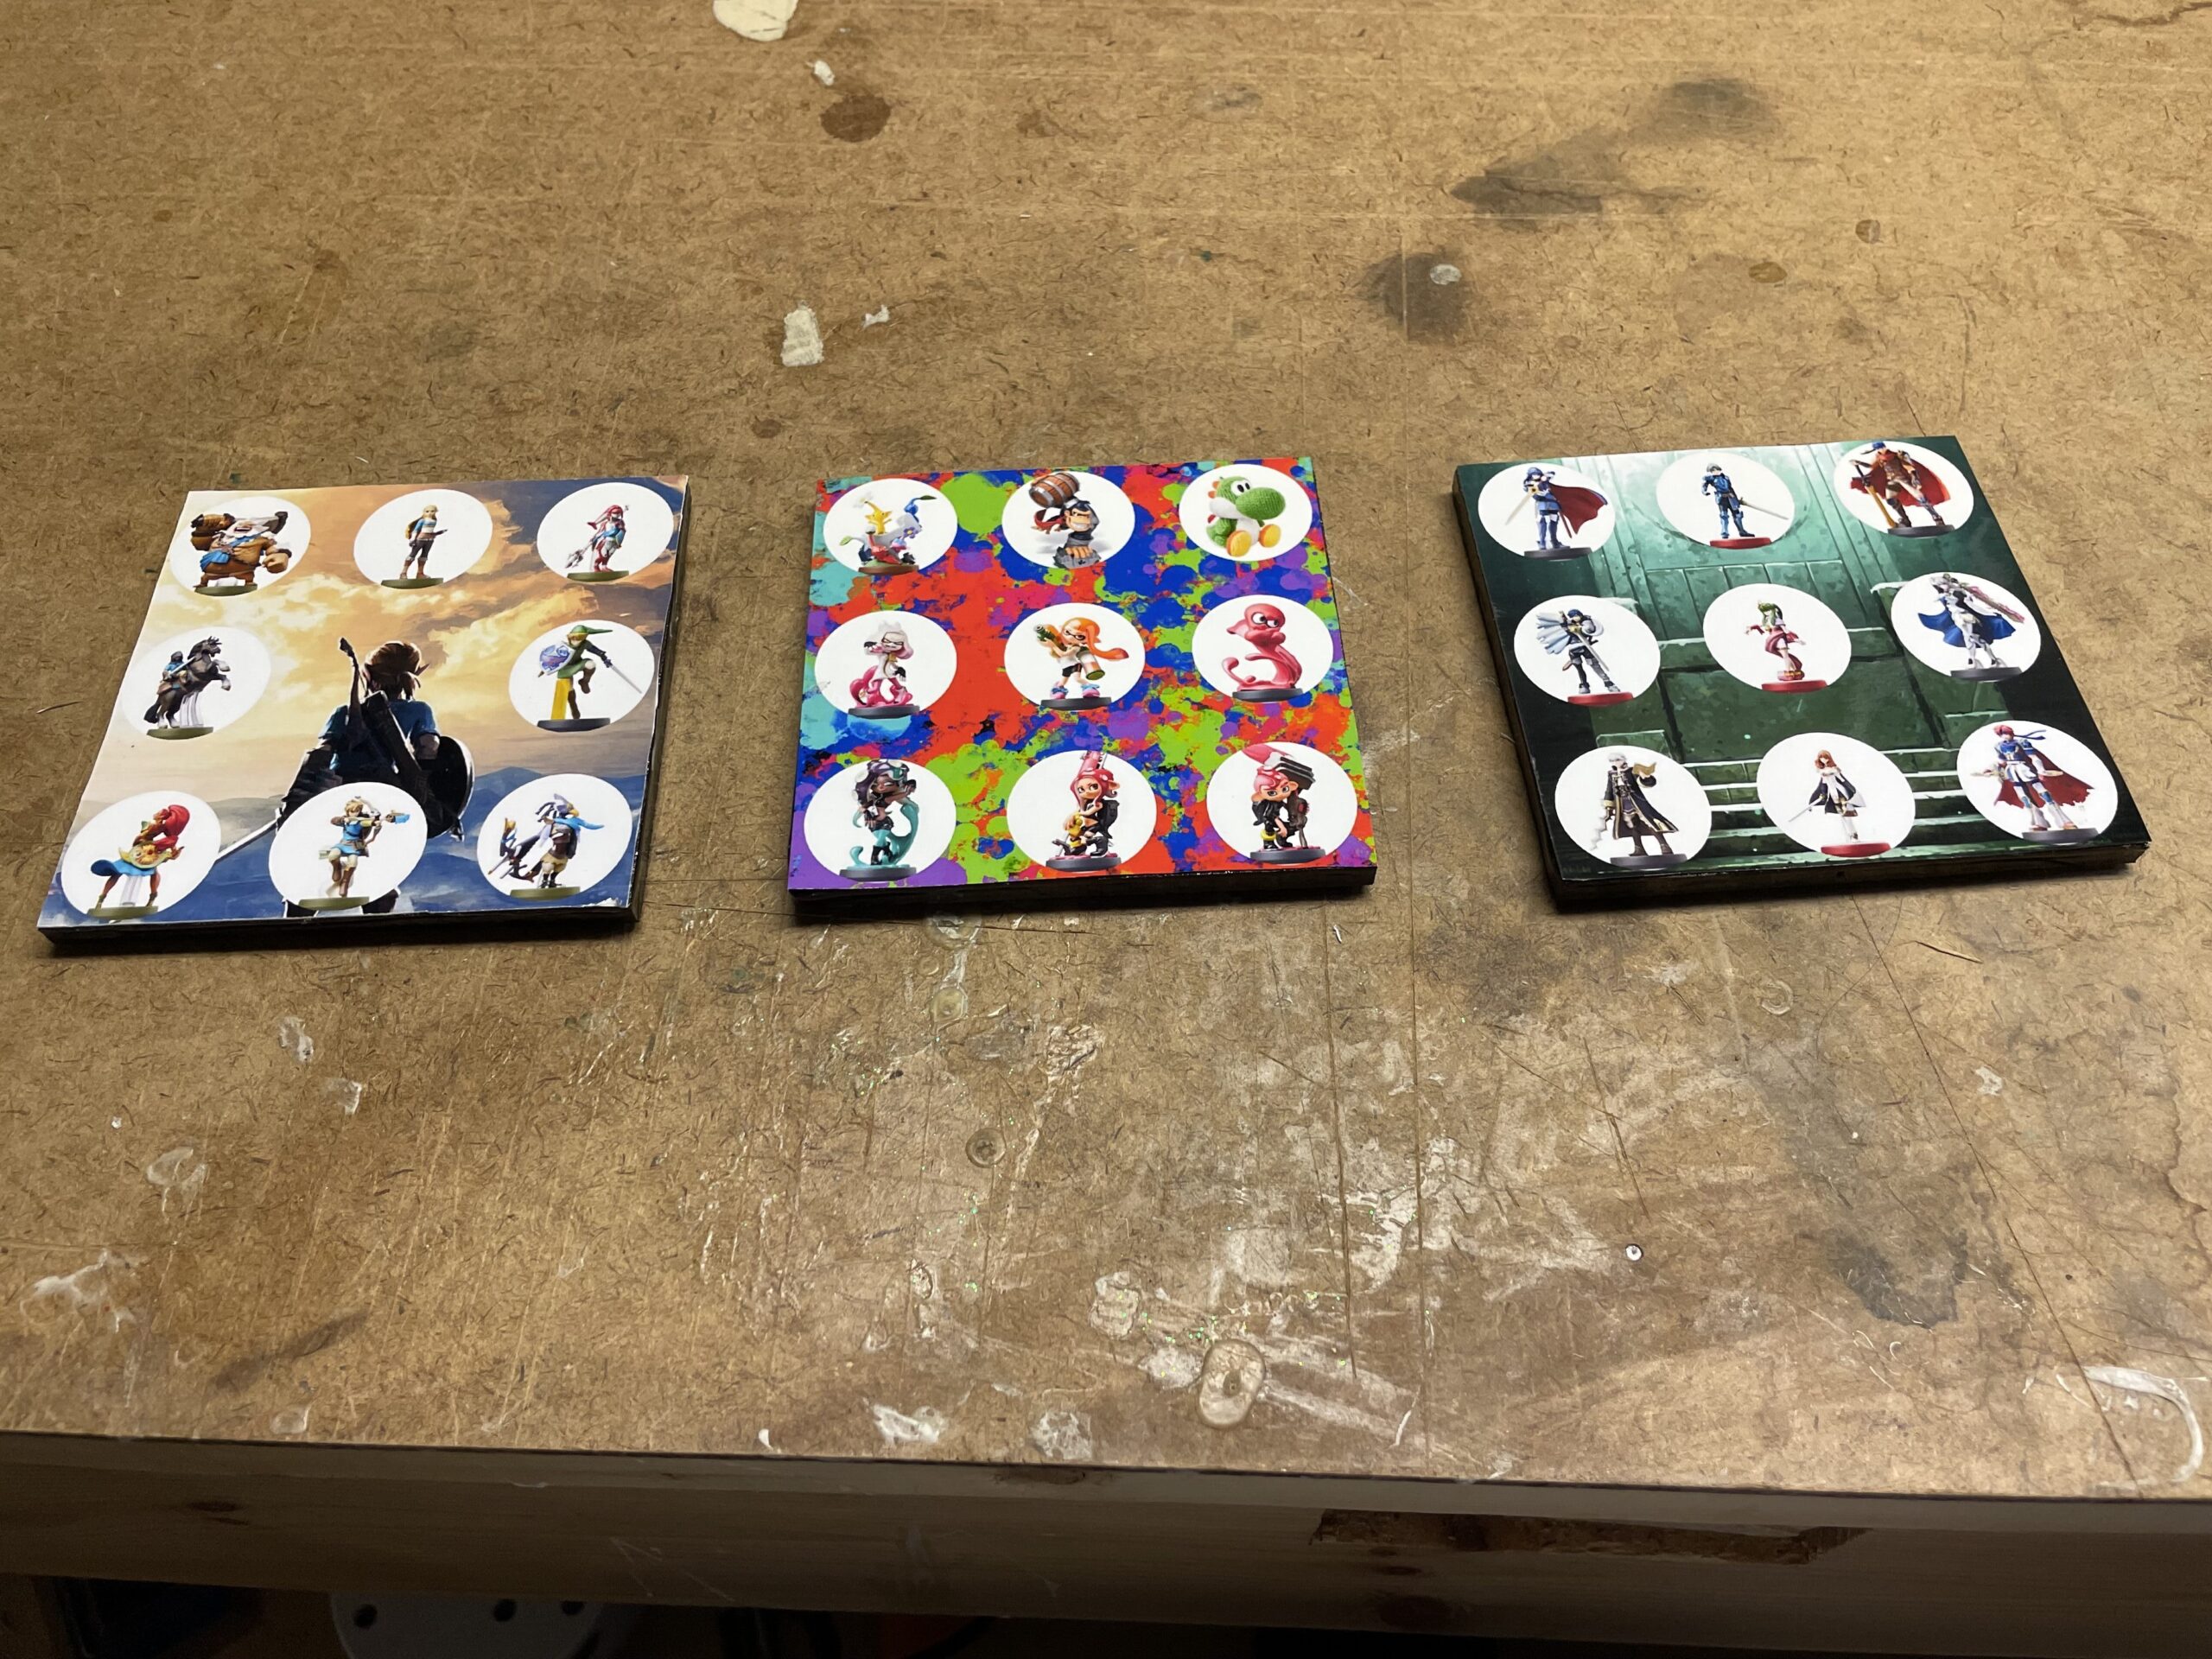
After gluing and trimming the photos onto the tops, I applied another coat of bar top epoxy. Sharp-eyed Zelda fans may notice that I accidentally flipped the image of Link on the first one; he’s not left-handed. I’ll just say he’s imitating Inigo Montoya.
Nonetheless, these look cool sitting on the end table, and whenever I’m playing a game and want to use an amiibo, I can just grab the appropriate coaster and scan it.
The only drawback is that the NFC tags aren’t readable through the thickness of the Masonite, so I have to flip the coaster over and align the amiibo image with the scanning spot on the controller without being able to see what I’m doing. If I had put the stickers on the bottom side before applying the black paint, I could’ve avoided that issue.
Still, these turned out quite well, and making them was a fun project that only took a few hours altogether.