
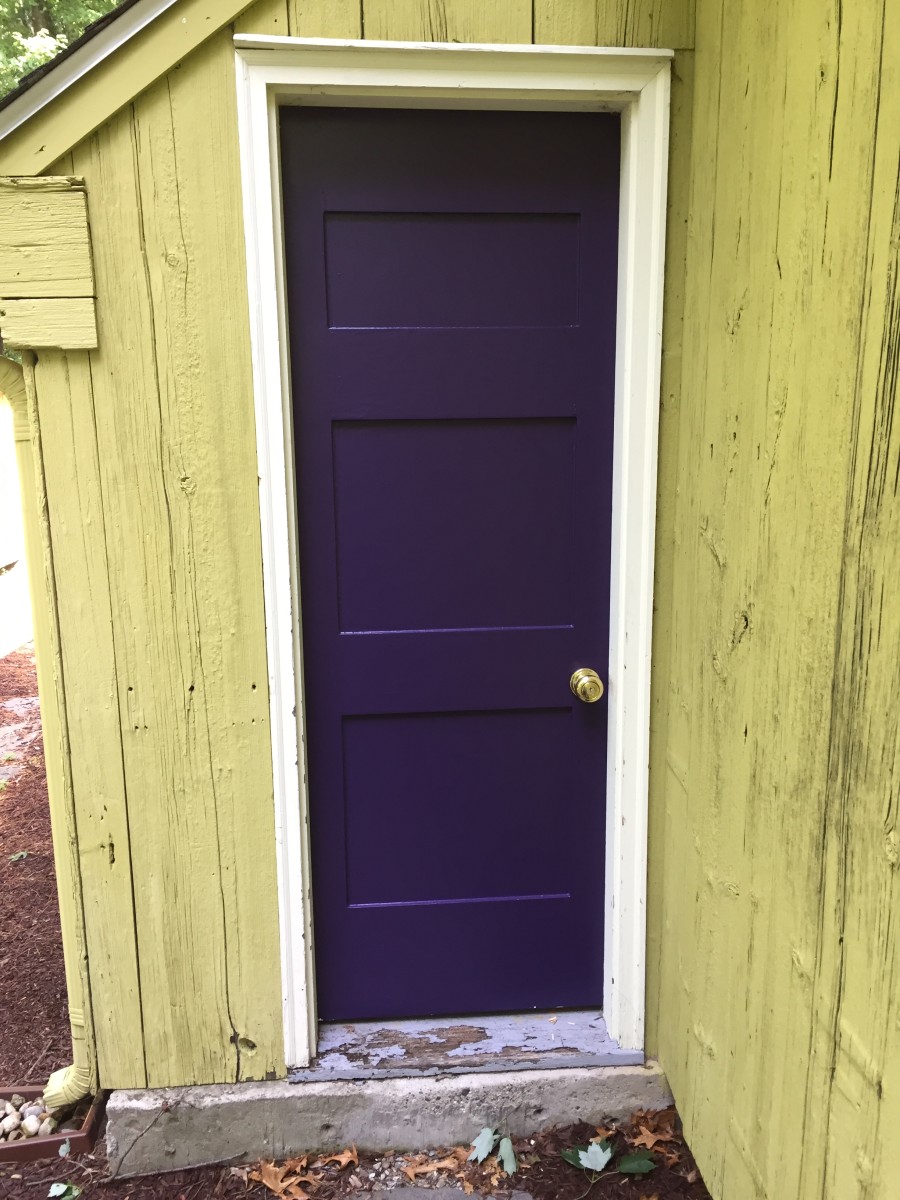
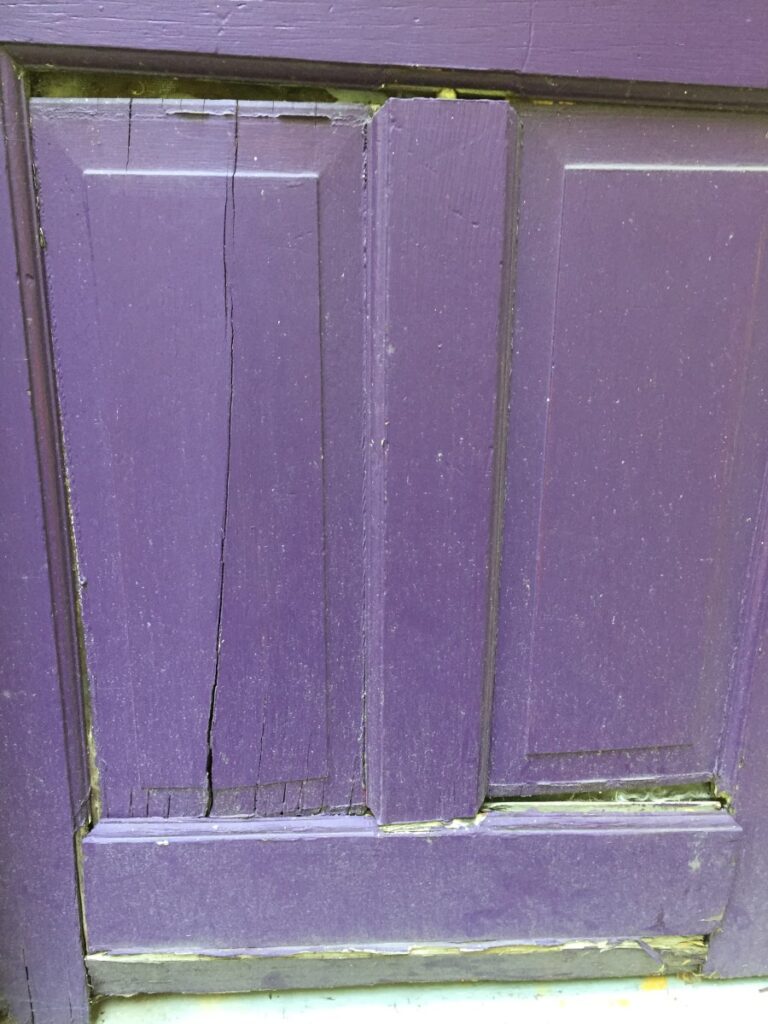
The back door of our garage was in rough shape when we bought the house ten years ago, and we’ve been procrastinating its repair for just as long. Ordinarily I’d just go to the lumber yard, pick up a pre-hung door in the appropriate style, and install it by lunchtime. However, this particular door is a non-standard size, narrow and short to clear the garage roofline. Inquiring at the lumber yard revealed that custom size pre-hung doors start at hundreds of dollars and go way up from there. The cheapest ones are butt-ugly and poorly built, and the expensive ones are, well, expensive.
After ten years of trying to ignore the problem, though, it was coming to a head. The door just wasn’t going to make it through another winter.
Very few people try to build their own doors, but some online research uncovered this blog post, which gave me hope that it could be done. The only problem with the way that fellow did it was that I needed an exterior door, capable of surviving western Massachusetts weather. Bare plywood wouldn’t do.
Having grown up around boats, I knew that it was possible to weatherproof plywood by coating it in epoxy. In this context, “epoxy” does not mean that goopy two-component glue from the hardware store that sets into a brittle mass in five minutes. No, I’m talking about the industrial strength stuff that laminates the composite hulls of globe-circling racing yachts. Indeed, West System epoxy, long the industry standard for this sort of thing, forms impermeable surfaces that have held up for decades in applications far more demanding than my little door will ever encounter.
Supplied with a couple of cans of West System 105 resin and 205 hardener, complete with the nifty measuring pumps that dispense it in just the right ratio, I measured out my cuts on a sheet of half-inch A/B plywood and some dimensional pine lumber. The pictures tell the story.
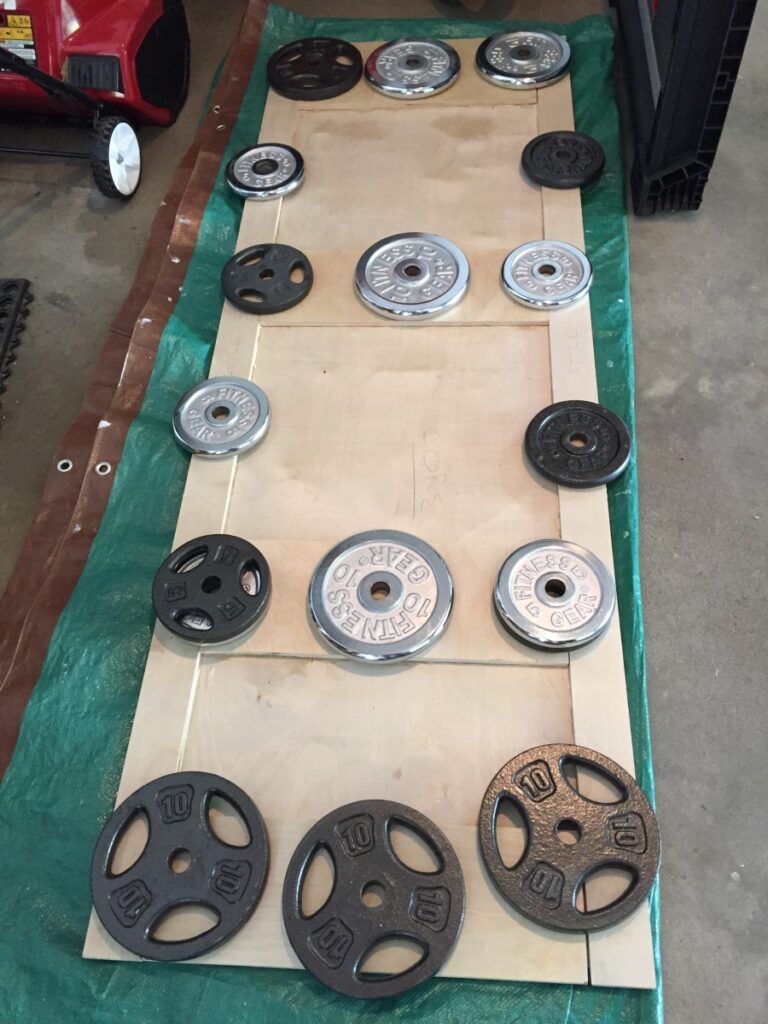
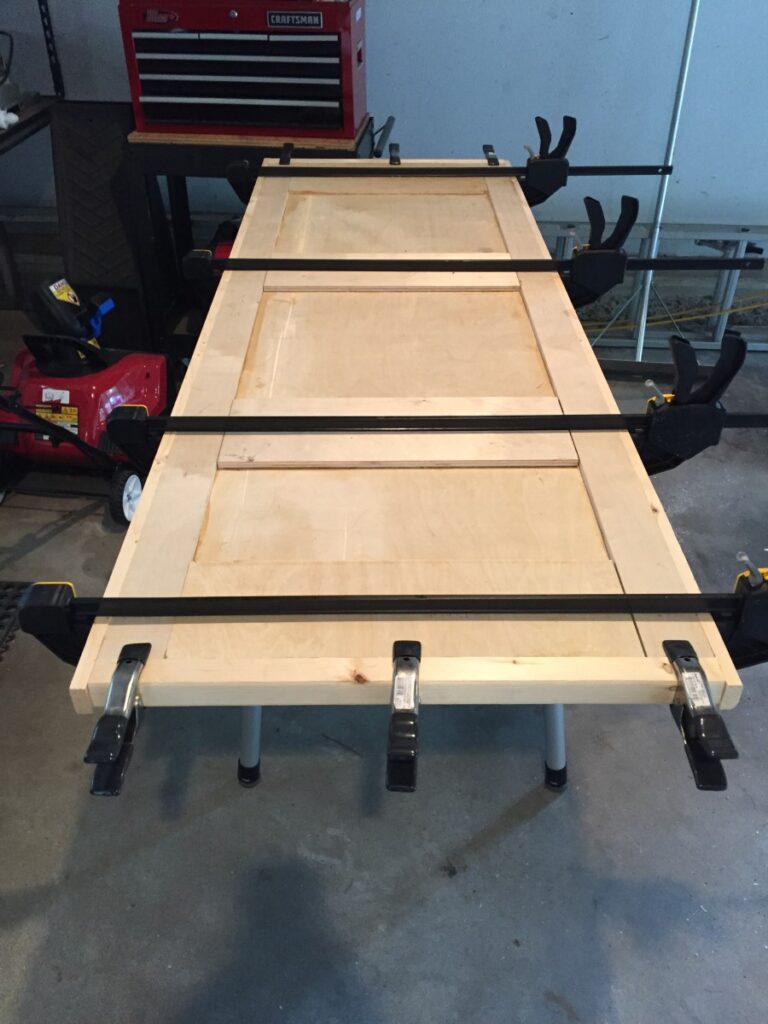
First I cut the core of the door to size, then used Titebond wood adhesive to glue the rails and stiles into place, leaving an overhang to accept the solid wood edges (see the I Build It blog post for more details on this concept). In retrospect I should’ve just used epoxy for this, but the Titebond worked fine with enough clamping weight. The idea here is to fake the look of a traditional frame-and-panel door, but with the structural rigidity of a solid slab. This works with plywood because it’s dimensionally stable.
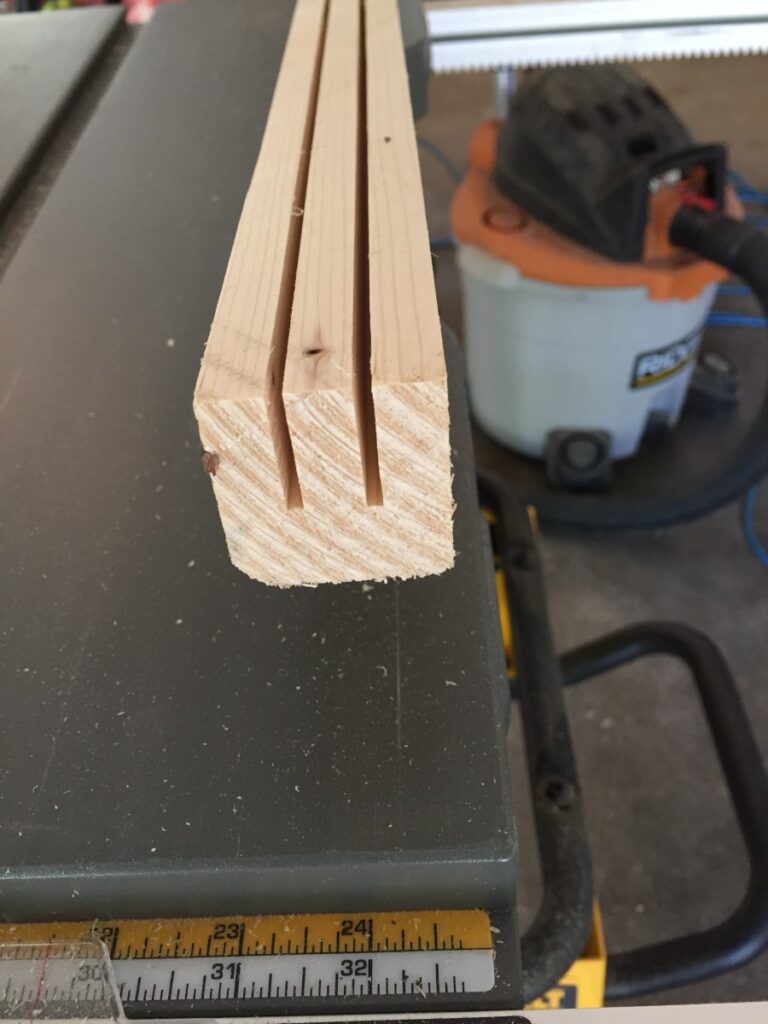
Here I’m starting to cut tongues on the dimensional lumber for the side and bottom pieces.
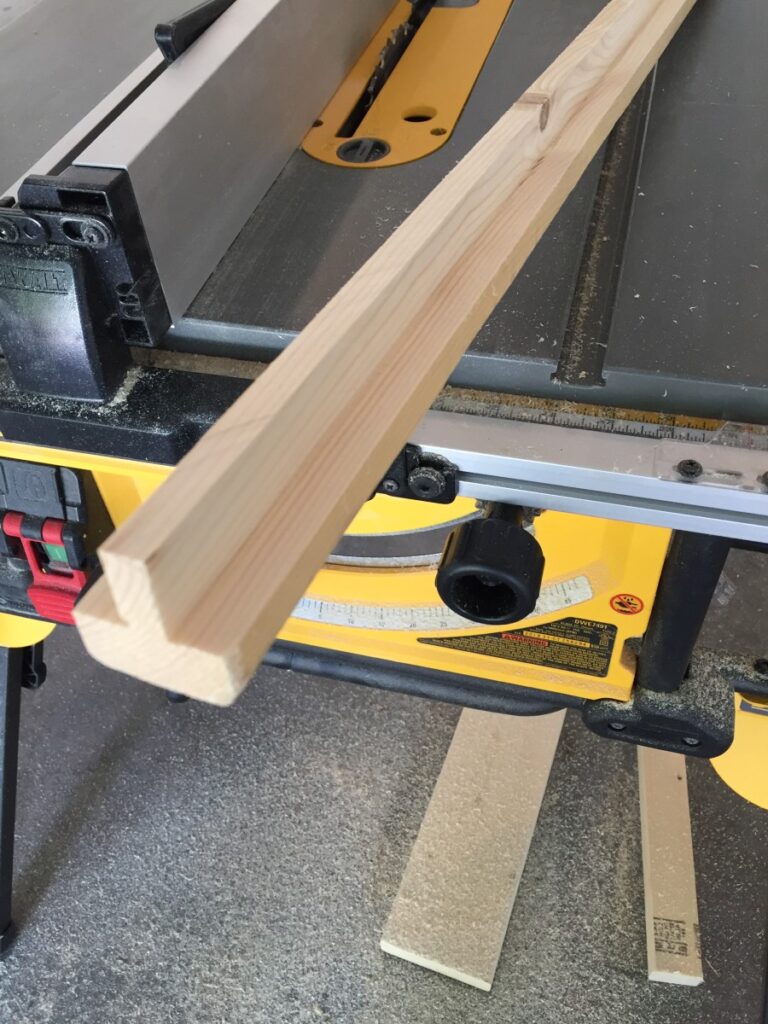
This is the finished tongue on a side piece. It will slide between the two outer layers of plywood to add a durable solid wood frame all the way around the perimeter of the door.
Next, I glued the side pieces on with two different West System epoxies. First I tried a tube of Six10, which is a very handy auto-mixing system that fits into a caulk gun. It’s pre-mixed with a thickener for “gap-filling” applications, something that comes up a lot where my woodworking skills are involved. Unfortunately, my gap-filling needs were sufficient to consume the entire tube sticking just one side piece into place, so I resorted to mixing their 105 resin and 205 hardener the rest of the way around the door. That’s a runnier mixture, but it still worked fine.
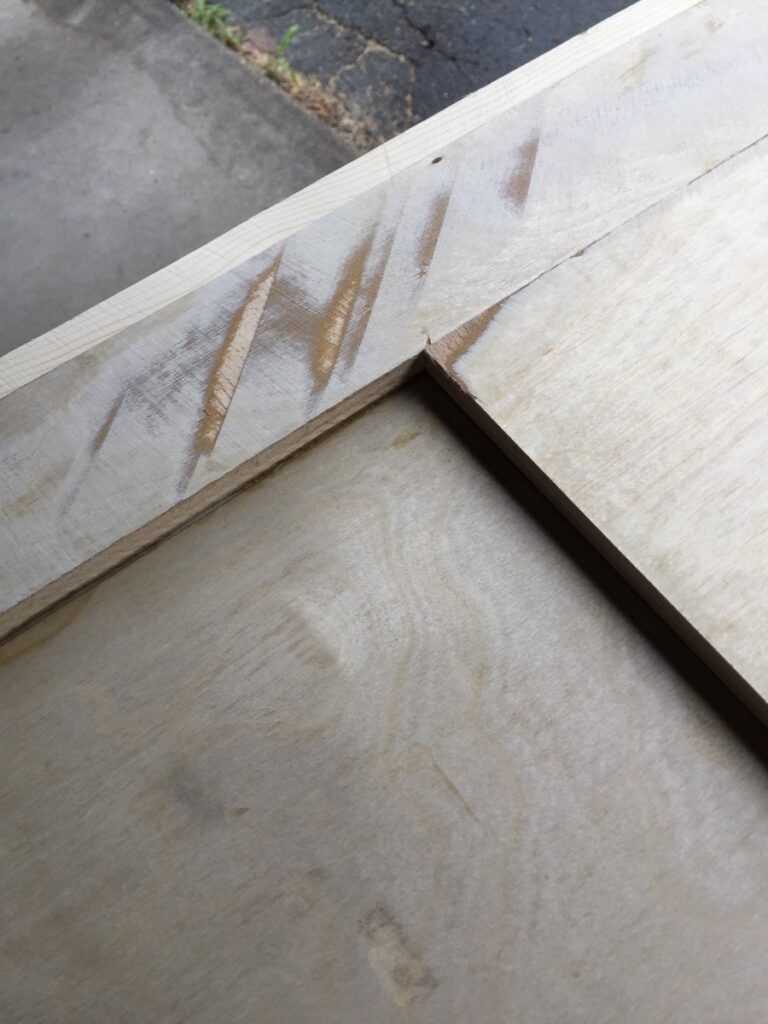
After everything had set up for a couple of days, I started sanding the side pieces even with the stiles and rails. This closeup reveals that my sanding skills are as keen as my joinery. Fortunately, the next step would let me fill in the scuffs.
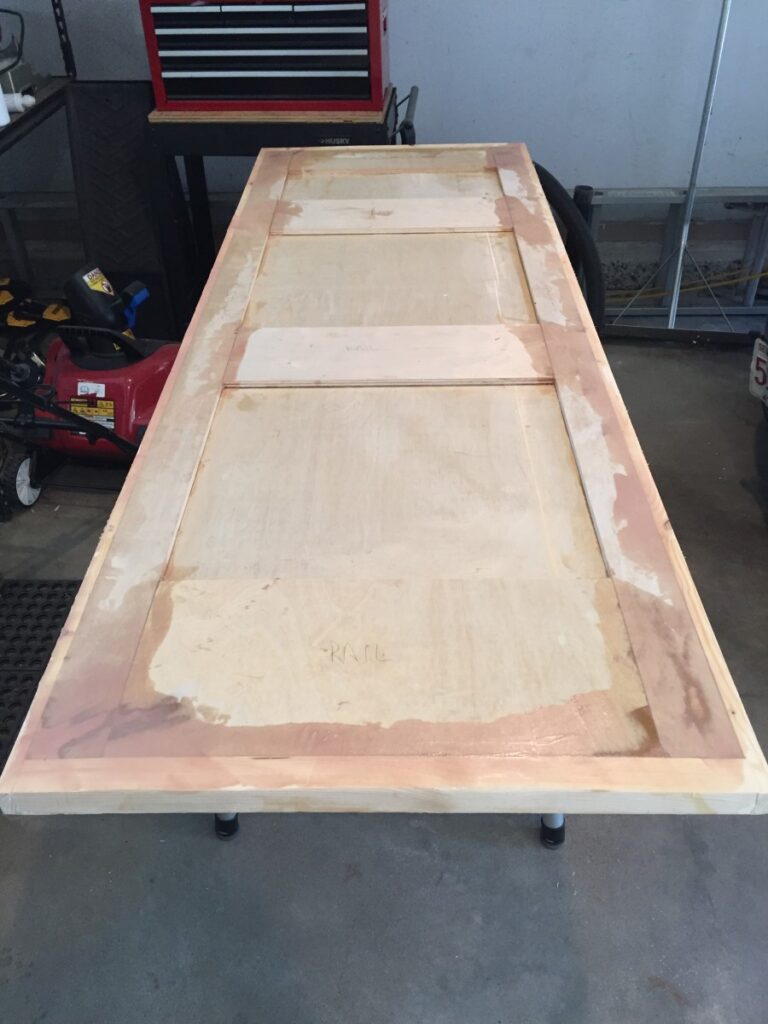
Remember what I said about gap-filling? Now it was time to smooth over the little spaces between the panels, rails, and stiles, and also spackle those sanding scuffs. I mixed up batches of 105/205 and added baby powder until it reached a peanut butter consistency. If I’d planned a bit better I would’ve ordered a can or two of West System low-density filler, which is the preferred thickener for this use, but the baby powder worked fine and smelled delightful. I pushed this putty into all of the gaps and faired everything smooth with a plastic scraper. The next day I sanded all of the joints smooth, then applied another layer of epoxy putty and repeated the process. After three rounds of putty and sanding the joints were all filled and the surfaces faired.
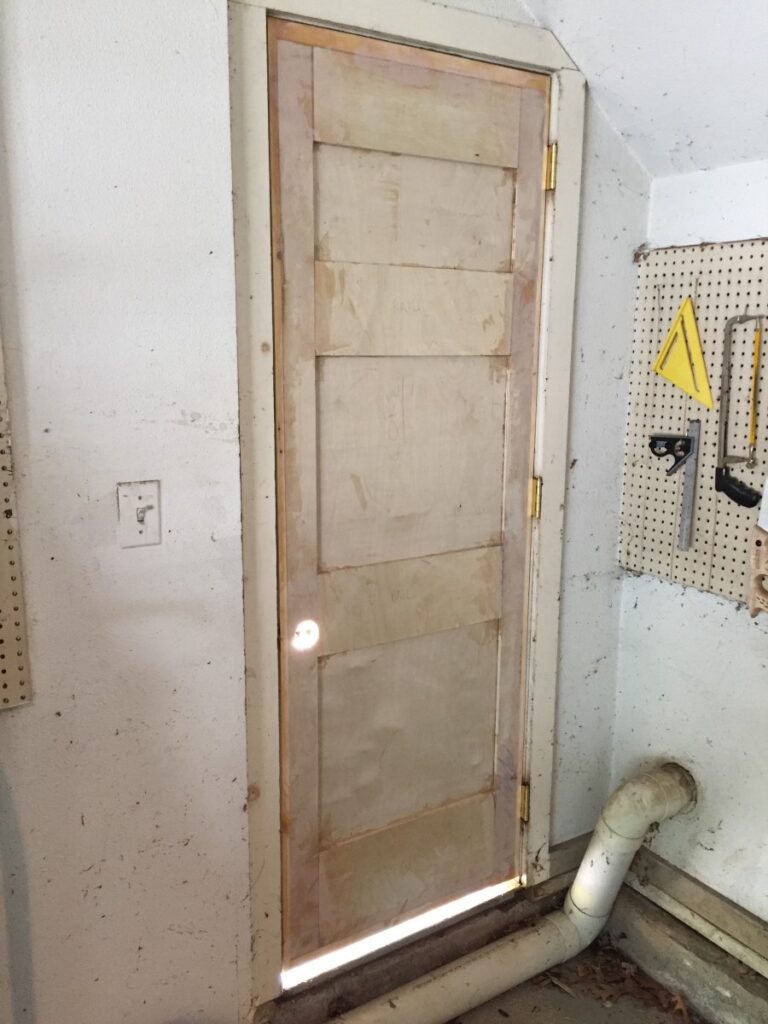
Now for the moment of truth. Even after measuring everything several times throughout construction, I was relieved to see that the new door actually fit into the opening.

With the structure complete, it was time to start the weatherproofing process. This involved three coats of 105/205 epoxy (unthickened), which I brushed on and then smoothed and tipped, mostly following the instructions in the West System literature.
The official West System roller covers are somewhat pricey, though. Being a clever boy, I decided to conserve them by using disposable foam brushes for the initial spreading process. This provided a vivid chemistry demonstration. Epoxy doesn’t dry, it cures through a chemical reaction. That reaction is both exothermic and temperature-dependent. The hotter it gets, the faster it cures, and the faster it cures the hotter it gets. Everything is fine as long as it’s spread in a thin enough layer that the heat can dissipate. If, however, some clever boy has loaded up a foam brush with it, the epoxy-soaked foam becomes a great insulator, and things get interesting. For reference, it takes about 15 minutes for the brush to start smoking.

After the final coat had cured and the smoke had cleared, I washed and sanded the door, then applied two coats of Zinsser primer and three coats of exterior latex paint to match the rest of the exterior doors. A set of brass door hardware finished the job.
Astute viewers will notice that the threshold beneath the door still looks rough. It is, but being a solid piece of wood it should survive the winter. Next summer I’ll tackle fixing it, likely with more epoxy and fewer foam brushes.