
I inherited a lovely Philippine mahogany dining table and a set of four walnut chairs from my great-grandmother, but as one might expect for century-old furniture, they weren’t in pristine condition when I got them. The chairs in particular were rickety and heavily worn, with the finish thick with accumulated grime in some spots. Here’s a photo essay showing how I refinished one of them.
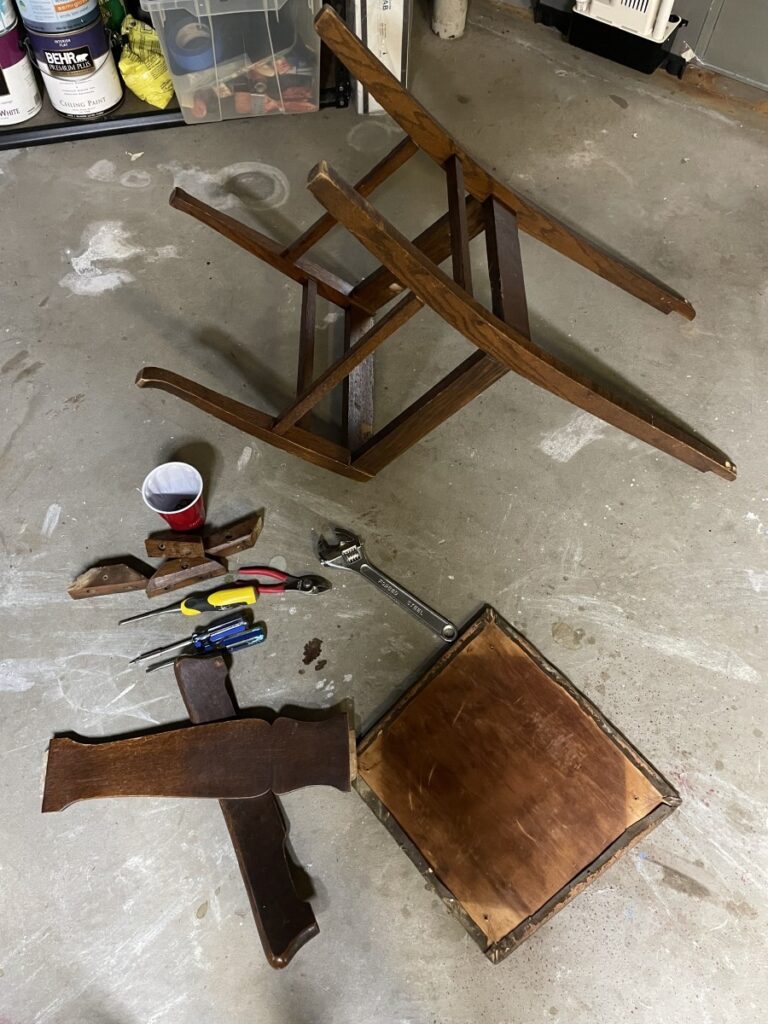
Guessing that the original maker had probably used hide glue, I got out the steamer. Sure enough, the steam loosened the joints right up.
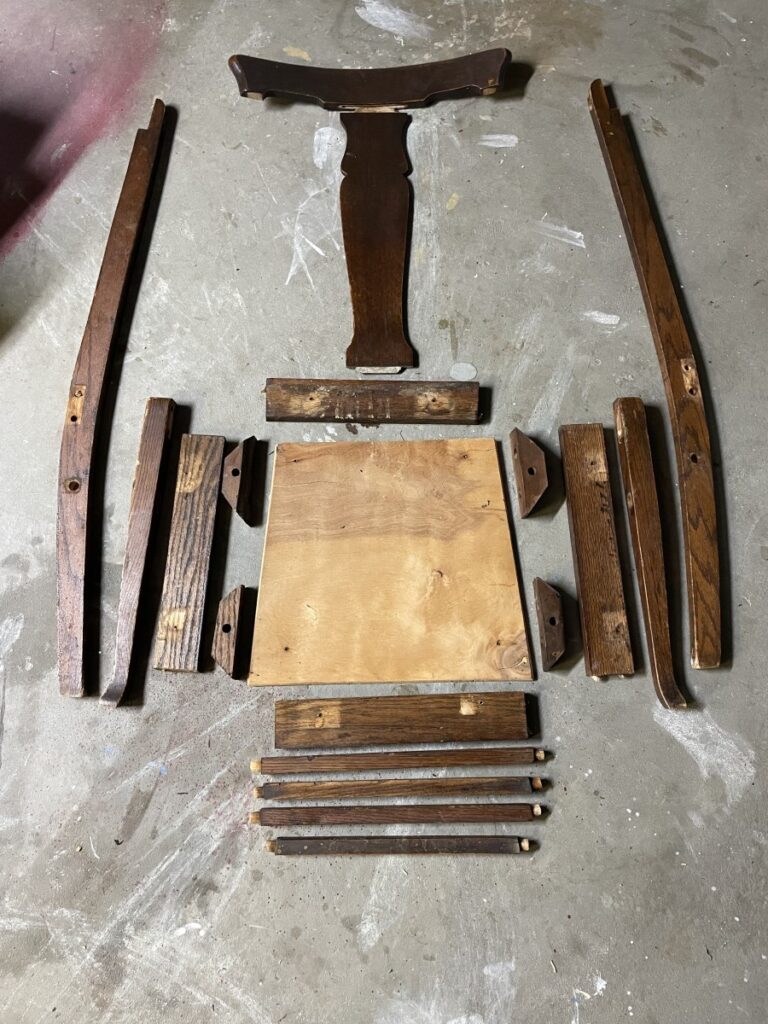
This was my only major error: failing to label the pieces. These could fit back together in a lot of different configurations, only one of which is correct.
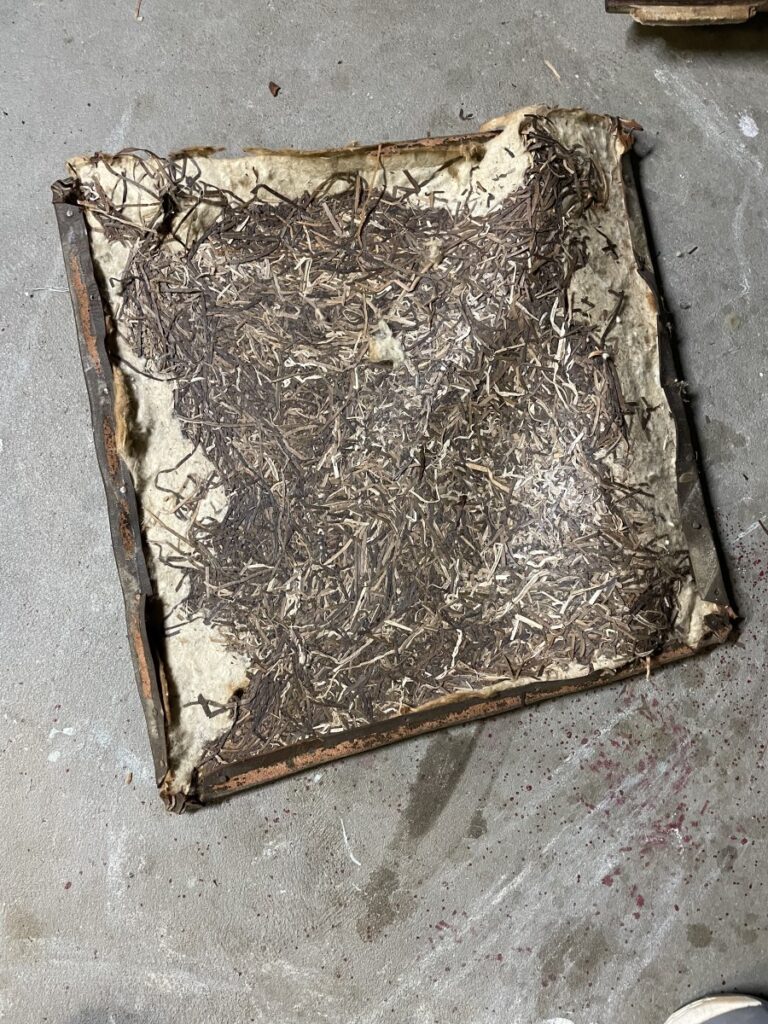
One of the reasons I wanted to refinish these chairs was that the seats were badly worn. Here’s the inside of what used to be a straw-stuffed leather cushion.
Besides holding the chair together with easily loosened hide glue, the maker had also used easily removed shellac as a finish; some denatured alcohol took most of it right off, after which I sanded the few remaining spots.
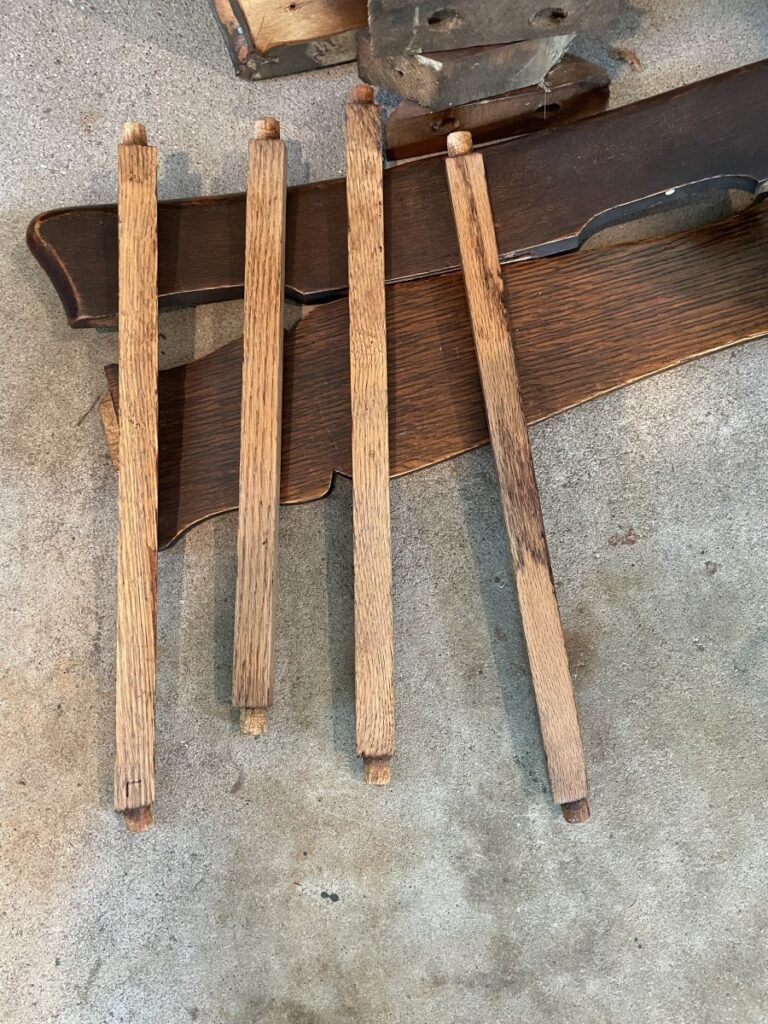
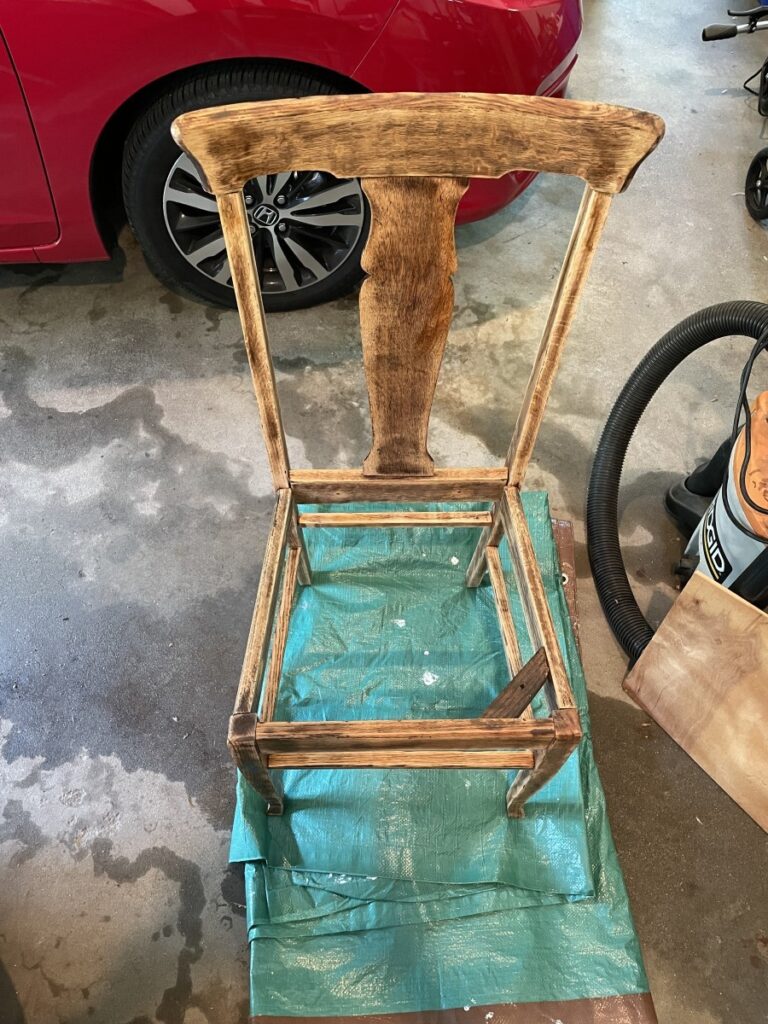
With everything clean, it was time to reassemble the frame. I stuck with the maker’s original choices for glue and finish; they’re all-natural, reversible, and obviously last quite awhile.
Here’s where I paid the price for not labeling the pieces. Fortunately, I was clever enough not to start slapping on the glue before test-fitting everything and sorting out the correct pattern. Once I’d figured that out, I warmed up the hide glue in a water bath with the sous vide cooker, then assembled the frame.
Hide glue is interesting to work with. It has a natural but not-entirely-pleasant odor, sort of like sweat on leather. Which I suppose makes sense, considering what it’s made of. Once I’d gotten the shellac flakes dissolved, which takes a few days, the shellacking process smelled a lot better.
I didn’t take pictures of my upholstery process, but it was very simple. I cut a new panel of 1/4″ plywood to the size of the original seat support, put a piece of foam cushioning on it, and then stretched the cloth around and secured it to the bottom of the board with a staple gun. The foam and cloth were from the local fabric store.
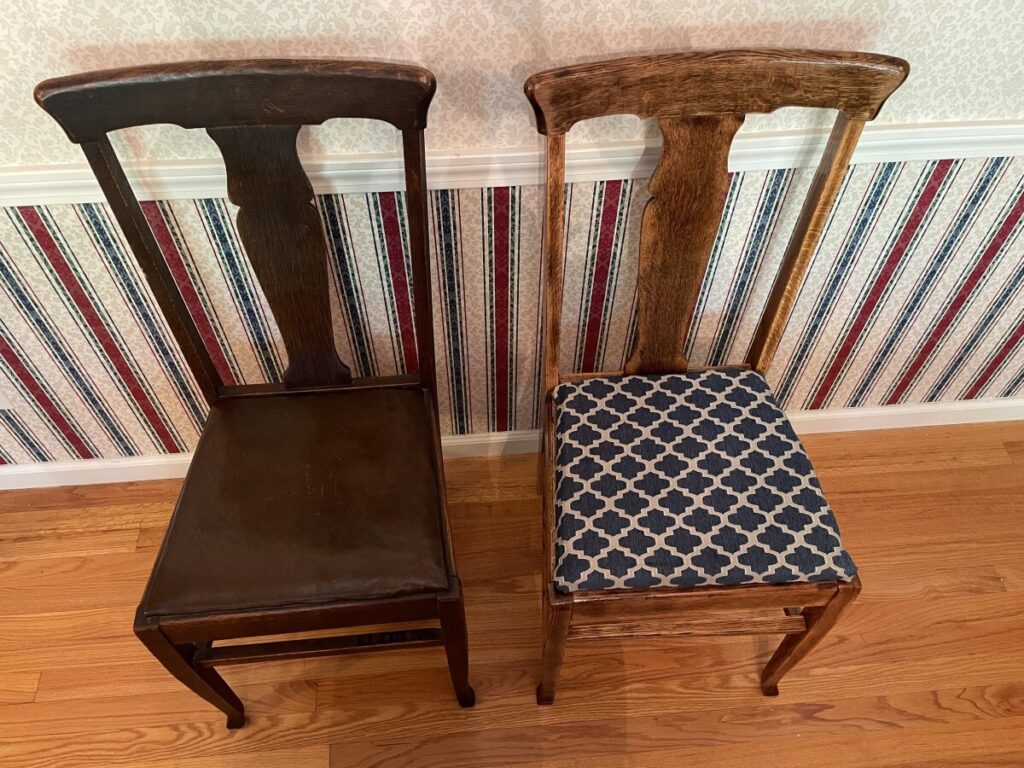
Besides looking a lot better, the refinished chair also feels much sturdier, with all the joints held together tightly by fresh hide glue. Since finishing this project, I’ve refinished two of the other chairs. Now there’s only one left in its original state, which I hope to get to sometime soon.