
Continuing my AlphaSmart keyboard infatuation, I decided to fix the one major drawback of the AlphaSmart 3000: the keyboard. While the stock keyboard is usable, it’s not very pleasant, especially if, like me, you’ve been spoiled by using a custom-built mechanical keyboard on a daily basis. In typical internet fashion, others have already gone down this rabbit hole, and placed a bunch of welcome signs outside the entrance to draw others in.
Following the guide here, I downloaded the parts list and the design files for the printed circuit board, then placed a couple of orders. It was the first time I’d ordered custom PCBs. I wanted to use OSHPark, but they charge for boards by the square centimeter, and a keyboard is a big, simple circuit that costs way too much that way. Instead, I used JLCPCB, which had a much cheaper quote. One wrinkle in ordering PCBs from these types of places is that you can’t get just one – the minimum order from OSHPark is three, and from JLCPCB it’s five. To keep things even, I also got five sets of the other components, which are just a couple of connectors, two ribbon cables, and a DIP switch for each keyboard.

The keycaps and switches for a single keyboard cost more than the PCBs and other components for five of them. Ordering the keycaps was also a bit tricky, as the build requires some odd sizes. I ended up getting DSA-profile keycaps without legends, but as you’ll see I later decided to augment those with some keycaps I had on hand.
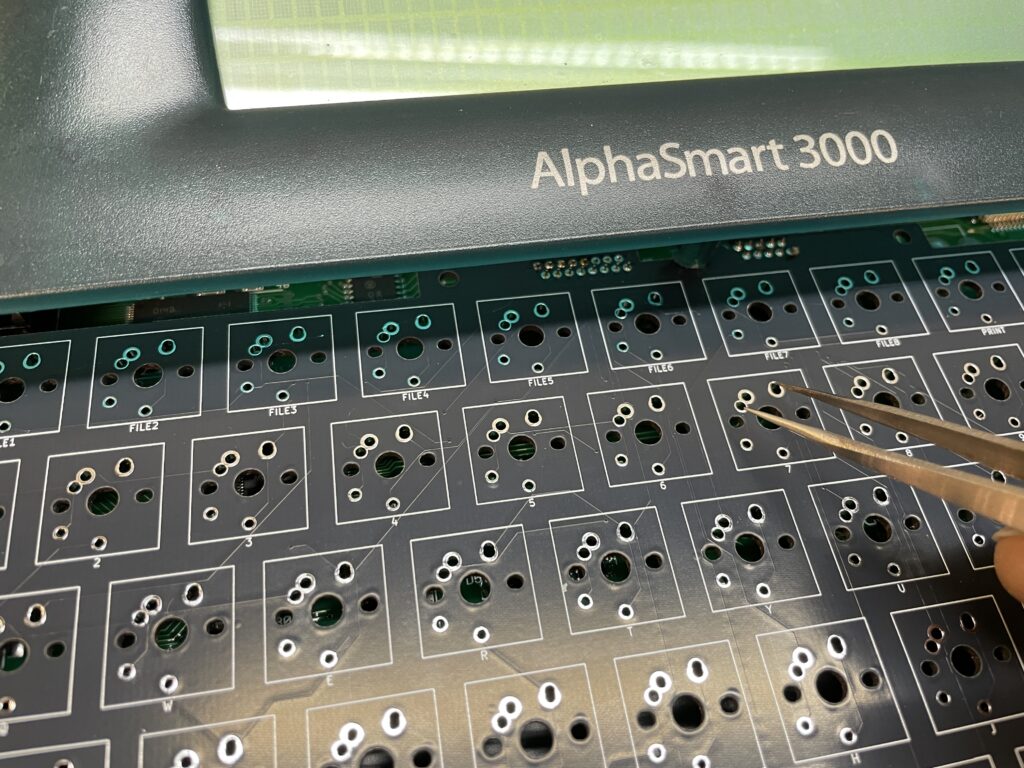
After unpacking and sorting everything, I soldered the connectors onto one of the boards, opened up a spare AS3K (yes, I have a few – they’re cheap and often sold in bulk lots) and hooked up the empty PCB. I then went through the switch pads with a pair of tweezers, bridging each one to make sure it worked. While the boards are supposedly tested at the factory, I wanted to be sure before soldering on switches.
With that done, I started populating the keyboard with the five-pin switches I’d gotten. These are definitely better than three-pin switches, as the additional plastic nubs hold them in the proper alignment while soldering. I’ve done a fair amount of soldering, but while working on this part, it occurred to me that a keyboard would be a great project for someone still learning. The solder joints are relatively large and tolerant to errors, and there are a lot of them. By the end of a keyboard build, you’ll have had plenty of practice.

I tested the switches before putting on keycaps, and all seemed well, so I added the keycaps and then reassembled the AlphaSmart. This was where my only major problem cropped up: two columns of keys were dead. From “r” and “t” through “v” and “b,” the keys weren’t registering.
I disassembled the device again, and soon discovered that the problem only showed up when I tightened down the screws that hold the keyboard in place. Specifically, when the top edge of the PCB and its attached connectors snugged down into place, I’d lose those two columns. A frustrating hour or so of troubleshooting proved that the problem wasn’t in the connectors’ solder joints, the ribbon cables, or any obvious electrical contact happening between the connectors and the circuitry underneath, on the main logic board.

I never did figure out the problem, but I found a solution. Placing small rubber washers between the keyboard PCB and the standoffs that hold it, then tightening down the screws, fixed it. That’s how it is now, and so far it’s working fine; I wrote this blog post on my newly upgraded AlphaSmart 3000.

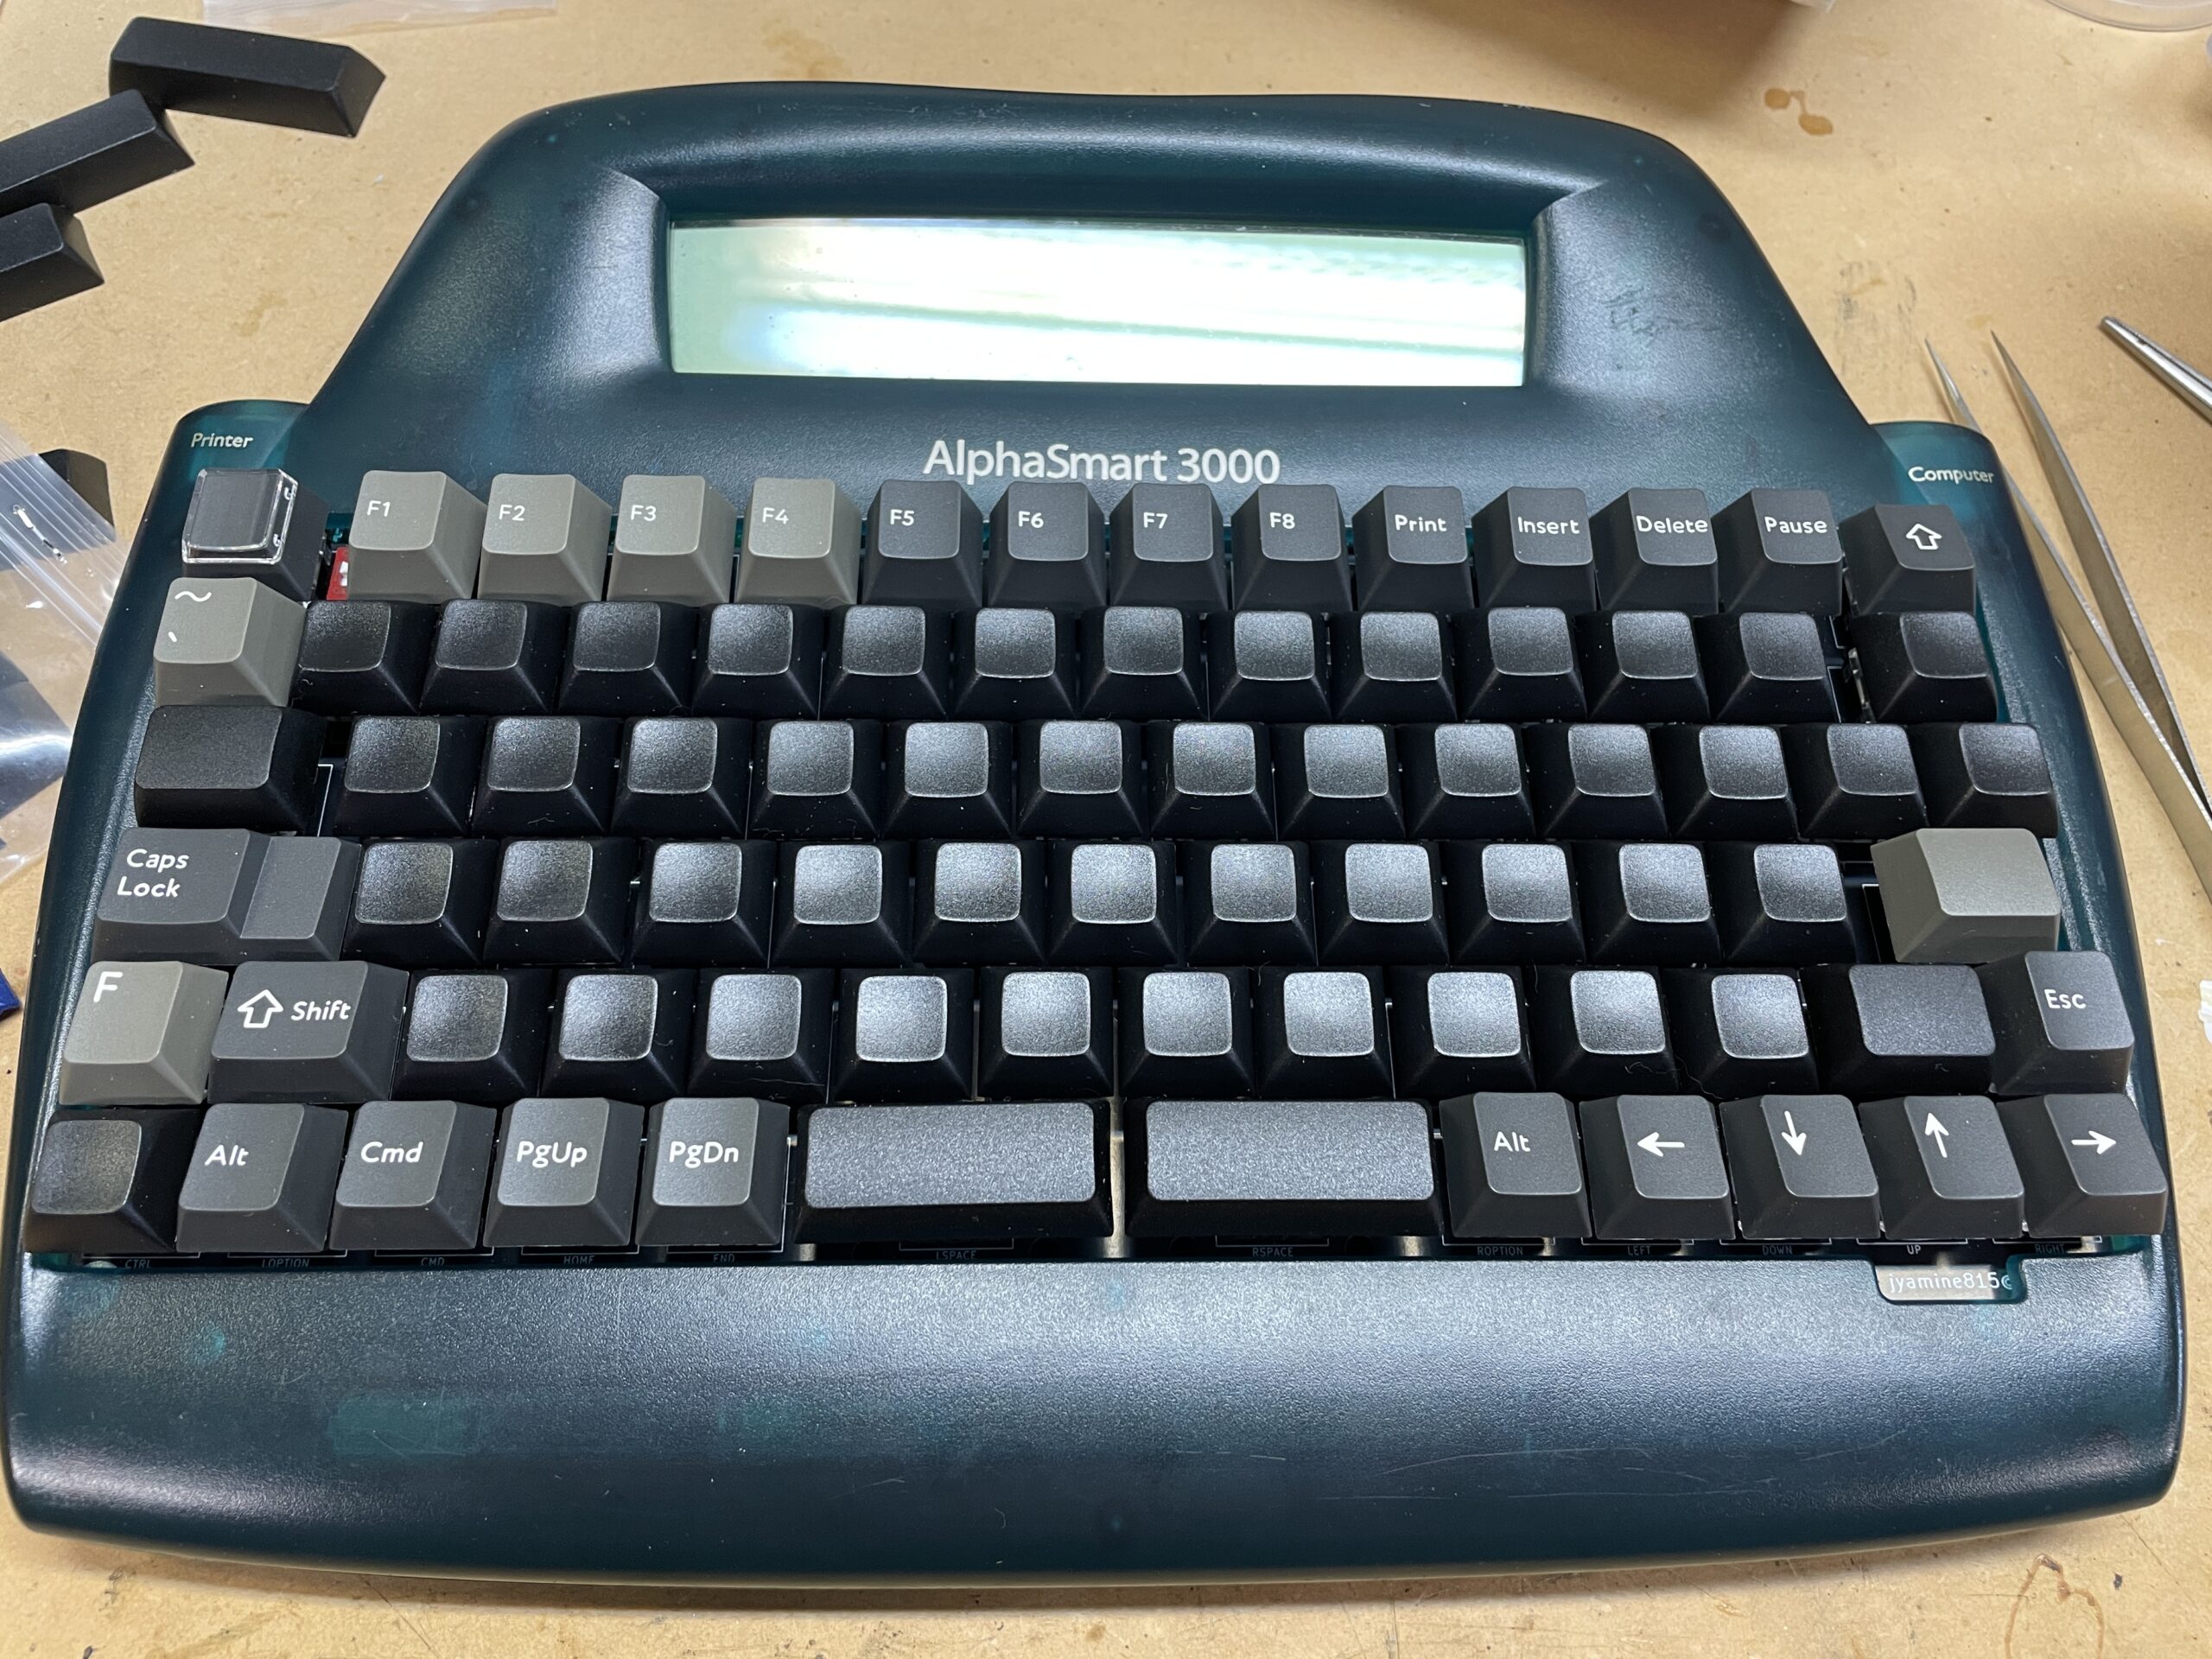
As shown in the photos, the keycaps I ended up using are a mix of the legendless DSA-profile ones I’d ordered for the project, and some with a different profile that I had left over from my desktop mechanical keyboard build. Now that I see how high the switches make the keyboard, I’m no longer sold on the need for uniform DSA-profile keycaps, and I think I may order a proper set of Cherry or other profile caps to get a more consistent look. Or maybe I’ll just leave it as it is, for that lashed-together cyberpunk style.
The switches I chose, Cherry Green, are the same ones I use on my desktop. They’re clicky, with a higher spring force than the more widely used Cherry Blue, and they feel great to type on.
Despite the frustrating mystery problem with the connectors, this turned out well. I’m looking forward to doing a lot more writing on this nifty little device.